Ever wrestled with a stubborn grinder that refuses to do its job? You need some clever tricks! Regular cleaning keeps your electric salt and pepper grinder in top shape. A best salt grinder handles salt efficiently, while a stainless steel pepper grinder may require extra care to prevent moisture issues. Try these tips to boost performance and outsmart clogs.
Why Inverted Salt and Pepper Grinders Get Clogged
Moisture Buildup in Salt and Pepper Grinders
Picture this: You grab your salt grinder, twist with gusto, and nothing comes out. The culprit? Moisture! When humidity sneaks into your kitchen, salt and pepper start clumping together. Sticky spices jam the grinder, making you work harder for that perfect sprinkle. If you want to prevent moisture from ruining your seasoning game, store your inverted salt and pepper grinders away from steamy stovetops and sinks.
Tip: Always remove moisture from grinder parts before refilling. Dry parts mean smooth performance!
Overfilling or Improper Filling Tips
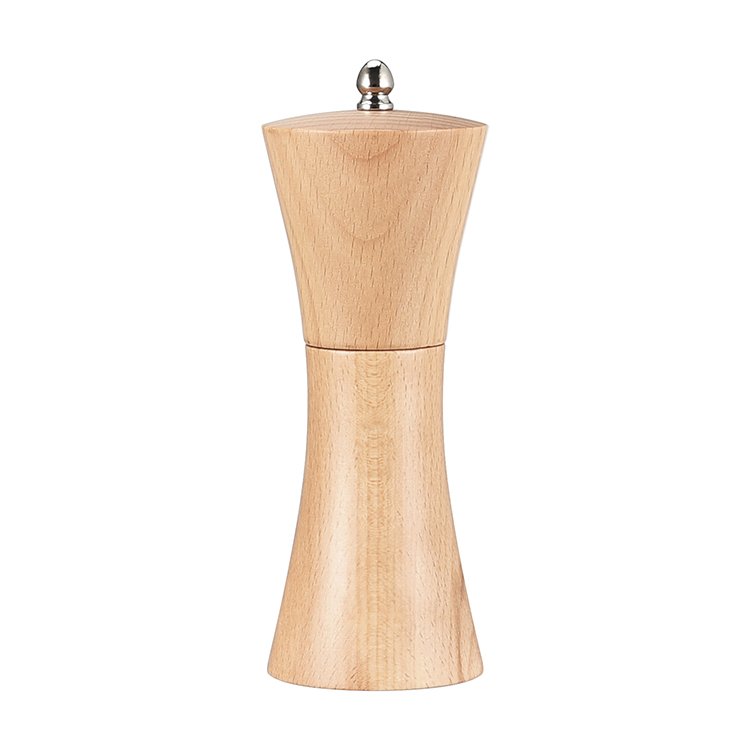
You love your wooden salt and pepper mills, so you fill them to the brim. But overfilling compresses the salt and pepper, making it tough for the grinder to do its job. You might think more is better, but less is the real trick. Fill your salt grinder only halfway. This gives the grinding mechanism room to work its magic.
- Overfilling leads to blockages.
- Use dry, loose salt and pepper for best results.
- Shake gently after filling to settle the spices.
Lack of Regular Cleaning Your Salt and Pepper Grinder
Salt grinder looking a little crusty? You’re not alone! Without regular cleaning, residue and moisture build up inside salt and pepper grinders. This causes clogs and ruins performance. Daily care keeps your grinder fresh and ready for action.
- Wipe down the grinder after each use.
- Clean the grinding mechanism weekly.
- Remove old salt before refilling.
A clean grinder means no clumps, no jams, and no frustration. Try these tricks and your seasoning will always flow!
Step-by-Step Cleaning Your Salt and Pepper Grinder
Disassembling Inverted Salt and Pepper Grinders Safely
Ready to dive into the world of cleaning your salt and pepper grinder? First, you need to take it apart like a pro. Don’t worry—no magic tricks required! Just follow these steps and you’ll have every piece ready for a deep clean:
- Unscrew the top knob or cap. This opens up the inside of your grinder.
- Hold the grinder firmly. You don’t want any small parts to escape and roll under the fridge!
- If your grinder has a coarseness adjustment knob, remove it gently. This reveals the grinding mechanism.
- Lay out all the parts on a clean towel or tray. Now you can see everything at a glance.
- Check each part for leftover salt, pepper, or debris. Pay extra attention to the grinding mechanism and the container.
Tip: Take a quick photo of your grinder before you start. This helps you remember how to put it back together!
Cleaning the Grinding Mechanism with Simple Tools
Now comes the fun part—making your grinder sparkle! You don’t need fancy gadgets. Grab a small brush, like a paintbrush or pastry brush, and get ready to sweep away the mess.
- Unscrew the top nut and remove the top of the grinder.
- Flip the grinder upside down. Shake out any leftover salt or pepper.
- Use your brush to clean the inside of the mill. Sweep away every crumb and crystal.
- Brush the bottom of the grinding mechanism. This spot loves to hide stubborn bits.
- Once everything looks clean, refill your grinder and put the top back on. Adjust the grind to your favorite setting.
Note: Avoid using soap while cleaning. Soap can leave a taste behind and mess with your seasoning’s flavor.
Regular cleaning keeps your salt and pepper grinders working smoothly. Experts recommend cleaning every two to four weeks. This simple habit stops clogs before they start and keeps your grinder’s performance top-notch.
How to Effectively Dry Out Salt Grinder Parts
Moisture is the enemy of a happy salt grinder. If you want to effectively dry out salt grinder parts, you have a few clever tricks up your sleeve:
- Freeze the grinder. Empty out the salt, then pop the grinder in the freezer for about 12 hours. This hardens any leftover moisture.
- Use silica gel packets. Place a packet inside the grinder (but not touching the salt) to soak up extra dampness.
- Air dry the salt. Spread it on a baking sheet and let it sit in a dry spot. You can also use a low-temperature oven for a quick fix.
- Try the rice method. Put uncooked rice next to your grinder overnight. The rice acts like a sponge and pulls out moisture.
- Let the sun help. Place your grinder in sunlight for a short time. The sun’s warmth chases away moisture, but don’t leave it out too long.
Callout: Dry parts mean no clogs and smooth grinding every time. Always make sure your grinder is bone dry before refilling.
With these steps, your inverted salt and pepper grinders will stay fresh, clog-free, and ready for action. You’ll never have to wrestle with a stuck grinder again!
Best Practices for Filling and Refilling Inverted Salt and Pepper Grinders
Using the Right Type of Salt and Pepper Tips
You want your salt and pepper grinders to work like magic wands, not stubborn trolls. The secret? Choose the right salt and pepper every time. Dry spices keep your grinder happy and clog-free. Moisture is the enemy, so skip damp or oily blends. Experts suggest a few simple tricks:
- Use only dry salt and peppercorns.
- Run a little rice through your grinder now and then. Rice absorbs oils and keeps things moving.
- Wipe down the outside after each use. Regular cleaning keeps your grinder looking sharp.
Tip: Monthly deep cleaning with warm soapy water makes your salt grinder last longer and boosts performance.
Avoiding Overfilling Salt and Pepper Grinders
You might think stuffing your wooden salt and pepper mills to the top is a smart move. Not so fast! Overfilling leads to jams and blockages. Your grinder needs space to let the salt and pepper dance around. Leave some room in the chamber. This simple step keeps your salt grinder running smooth and prevents clogs.
- Overfilling can jam the grinder.
- Leave space for spices to move freely.
- Better flow means better seasoning.
Checking for Residue Before Refilling
Before you pour in fresh salt or pepper, check for leftover bits. Old residue can mess with your grinder’s performance. Here are some easy steps:
- Wipe the outside with a soft, damp cloth.
- Use a drop of dish soap for stubborn gunk.
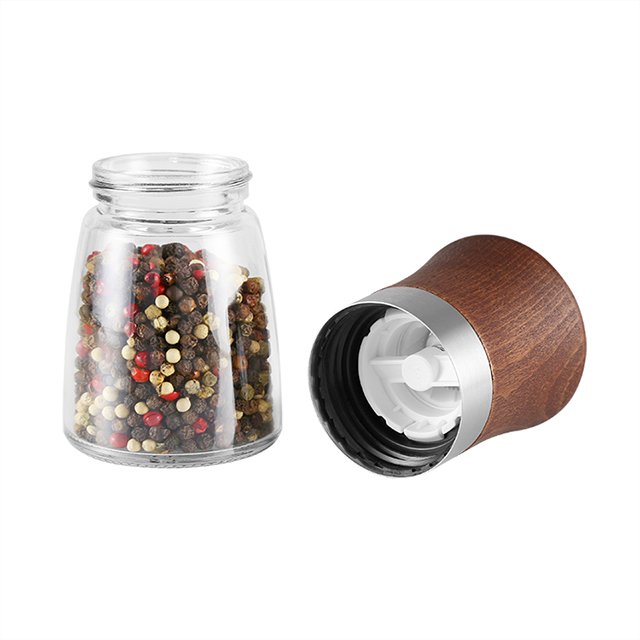
- Unscrew the knob and remove the head to empty old spices.
- Turn the grinder upside down and rotate it to clear the chamber.
- Use a brush inside the well for a deep clean.
- If you spot damp or old peppercorns, toss them out and let your salt grinder dry before refilling.
Callout: A refill funnel makes the job neat and easy. Fresh, hard black peppercorns work best. Avoid colorful corns that can leave residue.
With these tips, your inverted salt and pepper grinders will stay in top shape. You’ll enjoy smooth seasoning and fewer clogs every time you cook!
Storage Tips to Keep Inverted Salt and Pepper Grinders Dry
Choosing the Right Location for Salt and Pepper Grinders
You want your salt and pepper grinders to stay dry and ready for action. The right spot makes all the difference.
- Pick a cool, dry place far from the stove or sink.
- Never store your salt grinder near steam or splashes.
- Make sure your grinder has a tight seal to prevent moisture from sneaking in.
- Use silica gel packets in your storage area to remove moisture and keep your salt happy.
Tip: A wooden salt and pepper mill loves a dry shelf, not a steamy countertop!
Using Airtight Containers for Refills
You can boost performance by storing your refills in airtight containers. This simple trick keeps salt and pepper fresh and dry.
- Airtight containers stop humidity from turning your salt into clumps.
- Always seal the lid tightly after each use.
- If you want extra protection, use silica gel packets inside the container.
- Regular cleaning of your containers helps prevent residue buildup.
Callout: Keeping salt dry means fewer clogs and smoother grinding every time.
Avoiding Humid Environments
Humidity is the enemy of smooth seasoning. Salt and pepper love to soak up moisture, which leads to clogs and sticky grinders.
- Store your inverted salt and pepper grinders away from dishwashers and windows.
- Humidity can cause seasoning residue to build up, hurting grinder performance.
- If you live in a humid area, use a dehumidifier or keep your grinders in a pantry with a good seal.
Remember: Regular cleaning and smart storage help prevent moisture and keep your salt grinder working like a champ!
Regular Maintenance Routines for Salt and Pepper Grinders
Monthly Deep Cleaning Your Salt and Pepper Grinder
You want your salt and pepper grinders to keep them in top condition, right? Monthly deep cleaning is the secret weapon. If you use your salt grinder every day, clean it once a month. If you only sprinkle salt on special occasions, every three months works. Check out this handy table for cleaning frequency:
| Usage Level | Cleaning Frequency |
|---|---|
| Daily or Weekly Use | Once a month |
| Occasional Use | Every three months |
| Salt Mixes/Moisture | Clean more often |
Before cleaning your salt grinder, always empty it. Use a spoon to scoop out leftover salt or pepper. A funnel helps you avoid spills. If grinding gets tough or you spot residue, it’s time for a deep clean. Regular cleaning keeps your grinder’s performance sharp and prevents clogs.
Inspecting for Wear and Tear
Your wooden salt and pepper mills deserve some care. Routine inspections help you spot trouble before it ruins your seasoning fun. Look for loose additives, cracks in the body, or a damaged grinding mechanism. If you see any of these signs, your grinder needs attention. A quick check every month keeps your salt grinder working smoothly and helps you avoid surprises at dinner.
Tip: Give your grinder a gentle shake. Listen for rattles or odd noises. These can signal wear and tear.
Lubricating Moving Parts with Food-Safe Mineral Oil
Want to boost the life of your salt and pepper grinders? Lubricate moving parts with food-safe mineral oil. This oil meets strict safety standards and is harmless if a tiny bit gets into your food. Mineral oil prevents cracking and drying, especially in wooden salt and pepper mills. It helps seal the wood and keeps humidity out. Apply a small amount to the grinder’s moving parts. You’ll notice smoother grinding and better performance. With proper maintenance, your salt grinder will stay clog-free and ready for action.
Callout: Lubrication is one of the best tips and tricks for maintaining your grinder. It helps remove moisture and keeps your seasoning game strong!
Quick Troubleshooting Tips for Minor Clogs
Clearing Blockages in Inverted Salt and Pepper Grinders
You twist your salt grinder, expecting a shower of flavor, but nothing happens. Minor clogs love to sneak up on you! Most blockages come from salt clumping, fine powder buildup, or leftover bits from previous grinds. Here are some tricks to clear those pesky jams:
- Tap the grinder gently on the counter. This shakes loose any stuck salt or pepper.
- Use a soft brush to sweep away fine powder inside the chamber.
- Disassemble your wooden salt and pepper mills for a quick check. Remove moisture from every part before putting it back together.
- Regular cleaning after each use keeps your salt grinder running smoothly.
Tip: Never force the grinder. Gentle taps and cleaning work better than brute strength!
Resetting the Grinder Mechanism
Sometimes your salt grinder acts like it forgot how to grind. Resetting the mechanism can bring it back to life. You don’t need a magic wand—just follow these steps:
- Turn off the grinder if it’s electric.
- Unplug it and wait ten seconds.
- Plug it back in and turn it on.
- If your grinder has buttons, hold down both grind buttons while powering up.
- Adjust the grind setting and test with a few practice twists.
You might need to unlock timer settings or tweak the grind count. Play around until your salt grinder feels brand new!
When to Replace Parts in Salt and Pepper Grinders
Even the best salt and pepper grinders need a little TLC. If you notice grinding issues after cleaning your salt and pepper grinder, check for worn-out parts. Look for short screws, loose knobs, or inconsistent grind sizes. Replace any damaged pieces to keep your grinder working like a champ.
| Problem | Solution |
|---|---|
| Short screw | Replace with longer one |
| Loose knob | Tighten or replace |
| Poor grind performance | Swap grinding mechanism |
Callout: Regular cleaning and quick fixes keep your salt grinder in top shape. Don’t let minor clogs ruin your seasoning fun!
You want your salt grinder to last for years, right? Cleaning your salt and pepper grinder keeps wooden salt and pepper mills working smoothly. Smart storage and regular checks help your grinder stay clog-free.
- Monthly cleaning boosts performance.
- Fresh salt means better flavor.
- Spotting wear keeps your salt and grinder happy.
FAQ
Why does my salt grinder keep clogging?
Moisture loves to sneak in and make salt clump. You can stop this by keeping your grinder dry and cleaning it often.
Tip: Store your grinder far from steamy spots!
Can I use any kind of salt in my grinder?
Nope! You need dry, coarse salt crystals. Table salt jams the grinder. Sea salt or Himalayan salt works best for smooth grinding.
| Salt Type | Grinder Friendly? |
|---|---|
| Table Salt | ❌ |
| Sea Salt | ✅ |
| Himalayan Salt | ✅ |
How often should I clean my grinder?
You should clean your grinder every month. If you use it daily, clean it more often. A clean grinder means happy seasoning!