You want your cooking oil glass dispenser to shine and deliver top performance. Regular cleaning helps you keep your oil fresh and maintain the dispenser’s sparkle. This simple habit protects the freshness of your oil and ensures your cooking oil glass dispenser always looks and works its best.
Why Cleaning Your Cooking Oil Glass Dispenser Matters
Protecting Oil Quality and Freshness
You want every meal to taste its best. A clean oil dispenser helps you preserve freshness and improves oil quality. When you regularly clean your cooking oil glass dispenser, you stop old oil and residue from mixing with fresh oil. This simple habit keeps your oil freshness at its peak. You notice the difference in flavor and aroma right away. Clean bottles mean you enjoy pure, high-quality oil every time you cook.
Preventing Odors and Residue Buildup
Odors and sticky residue can ruin your kitchen experience. Regular cleaning stops these problems before they start. Here’s how you can prevent odor and residue buildup in your oil dispenser:
1. Oil drips attract dirt and germs, which cause unpleasant odors. 2. Hot water removes excess oil stuck inside the bottle. 3. Wiping hidden corners like the cap and rim keeps residue away. 4. Soaking in dishwashing liquid and scrubbing removes grease and dirt. 5. Rinsing with lemon or vinegar water eliminates germs and odor. 6. Drying thoroughly prevents moisture that can spoil oil and cause odor.
You keep your dispenser fresh and hygienic by following these steps. Your kitchen smells clean, and your oil stays pure.
Extending Oil Dispenser Lifespan
You invest in a quality oil dispenser because you want it to last. Regular cleaning protects the glass and all parts from damage. Removing residue and stains keeps the dispenser clear and strong. You avoid buildup that can weaken the glass or clog the spout. Clean dispensers work better and last longer, saving you money and effort. You get the most value from your kitchen tools when you care for them properly.
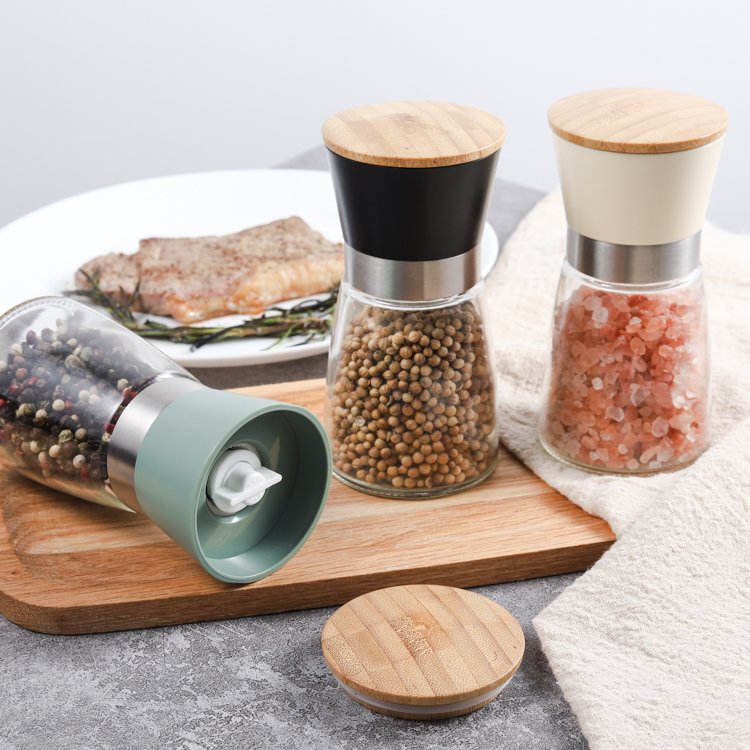
Essential Materials and Tools for Oil Dispenser Cleaning
Must-Have Cleaning Supplies
You want your oil and vinegar bottles to stay spotless and ready for every meal. Start with the basics. Warm water and a grease-cutting dish soap work wonders for everyday cleaning. These two items remove most oil and vinegar residue from your modern oil dispenser. A soft sponge or bottle brush helps you reach inside the glass oil sprayer without scratching the surface. Always rinse thoroughly to keep your oil and vinegar tasting pure. Many glass dispensers have removable parts, so you can clean your bottles easily by hand or in the dishwasher. This simple routine keeps your oil dispenser fresh and extends its life.
Tip: Always clean your bottles before first use and after each refill. This habit prevents impurities from mixing with your oil and vinegar.
Optional Tools for Deep Cleaning
Sometimes, stubborn oil and vinegar residue needs extra attention. Experts recommend a few smart tools for deep cleaning.
- Add a splash of distilled vinegar to your detergent mix for powerful grease removal.
- Drop a few grains of rice into the oil dispenser, add warm water, and shake. The rice scrubs away tough buildup inside the bottle.
- Use a thin brush, like the Desin Long Straw Brush, to reach narrow spots in your glass oil sprayer.
- For lingering odors, soak the dispenser in a mix of vinegar and water.
These optional tools help you maintain a sparkling oil and vinegar bottle collection. You protect the taste and quality of your oil and vinegar every time you clean.
Routine Cleaning Steps for Cooking Oil Glass Dispensers

Emptying and Preparing the Dispenser
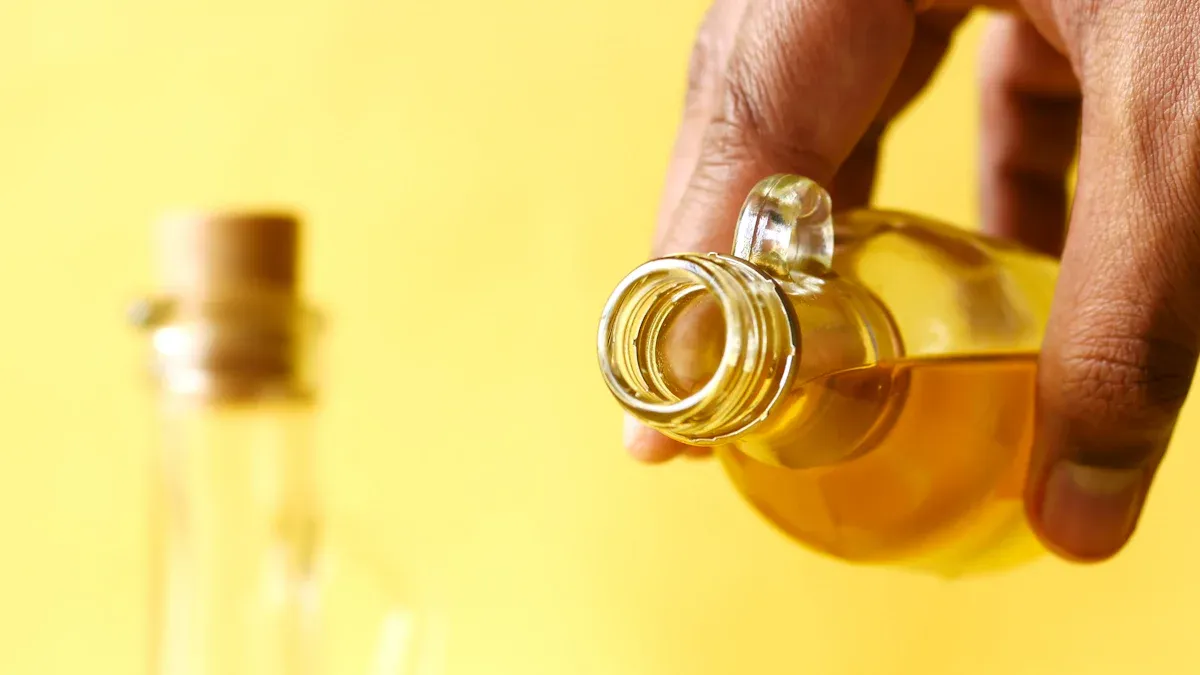
Start your cleaning routine by emptying your cooking oil glass dispenser. Pour any remaining oil into a clean, airtight container for later use. This step prevents waste and keeps your oil fresh. Remove the spout, cap, or any detachable parts. Set them aside for separate cleaning. If your dispenser has a narrow neck, use a funnel to avoid spills. Check for any stuck-on residue inside the bottle. A quick rinse with warm water loosens stubborn oil and prepares the surface for a deeper clean. You set yourself up for success by preparing your oil dispenser properly.
Tip: Always handle your glass oil sprayer with dry hands to prevent slips and accidental drops.
Washing with Warm Soapy Water
Fill your sink or a large bowl with warm water. Add a few drops of grease-cutting dish soap. Submerge the oil dispenser and its parts in the soapy water. Use a soft sponge or bottle brush to scrub the inside and outside of the dispenser. Pay special attention to the spout and cap, where oil often collects. Move the brush in circular motions to reach every corner. For hard-to-reach spots, try a thin brush or even a small amount of uncooked rice with water. Shake the dispenser gently to dislodge any hidden residue. This method ensures a clean oil dispenser every time.
- Use a soft brush for delicate glass.
- Avoid abrasive pads that can scratch the surface.
- Clean the spout and cap separately for best results.
Rinsing and Drying Thoroughly
After washing, rinse the oil dispenser under warm running water. Make sure you remove all soap and residue. Hold the dispenser up to the light to check for any remaining spots. Rinse the spout and cap as well. Place the clean parts on a drying rack or a clean towel. Let them air dry completely before reassembling. If you want to speed up the process, use a lint-free towel to dry the glass. Moisture left inside the dispenser can affect the quality of your oil. You protect your oil and keep your kitchen healthy by drying thoroughly.
Note: Never refill your cooking oil glass dispenser until it is completely dry. This habit prevents water from mixing with your oil and keeps your dispenser in top condition.
Deep Cleaning Tips for Stubborn Oil Residue
Using Baking Soda, Vinegar, or Lemon Water
Stubborn leftover oil residue can make your oil and vinegar bottles look dull and greasy. You want a solution that works without harsh chemicals. Baking soda, vinegar, and lemon water offer powerful, natural cleaning options. Each ingredient brings unique benefits to your cleaning routine.
Baking soda acts as a gentle scrubber and deodorizer. It breaks down grease and lifts grime from greasy oil bottles. Vinegar cuts through oil and neutralizes odors, leaving your oil and vinegar bottles fresh. Lemon water dissolves mineral deposits and adds a natural shine. When you combine baking soda and vinegar, you create a bubbling reaction that helps lift away stuck-on oil and grime.
You may wonder how these homemade cleaners compare to store-bought products. The table below shows their average effectiveness scores:
| Cleaner Type | Average Effectiveness Score |
|---|---|
| Homemade | 4.83 |
| Store-bought | 6.16 |
Homemade cleaners, including baking soda, vinegar, and lemon water, work well for most oil and vinegar cleaning tasks. They sometimes outperform commercial sprays on grease and grime. For heavy buildup, let the mixture sit for 30 minutes before rinsing. You get a sparkling finish and a safer kitchen environment.
Tip: Always rinse your oil and vinegar bottles thoroughly after using these solutions to avoid any lingering taste.
Cleaning Hard-to-Reach Areas in the Oil Dispenser
You want every part of your oil and vinegar dispenser to shine, even the narrowest spots. Hard-to-reach areas often trap oil and vinegar residue, making regular cleaning a challenge. Use these tips to tackle those tricky spaces:
- Drop a few grains of uncooked rice into the bottle with warm water. Shake vigorously. The rice scrubs away residue from corners and the bottom.
- Use a long, thin bottle brush to reach deep inside the neck and spout. Move the brush in circles for best results.
- For the spout and cap, soak them in a mix of vinegar and water. Scrub with a small brush or cotton swab.
You keep your oil and vinegar bottles spotless by focusing on these details. Clean your bottles before each refill to prevent buildup and keep your oil and vinegar tasting pure.
Tip: Let the bottle air dry upside down to ensure no moisture remains in hidden spots.
Removing Lingering Odors
Lingering odor can ruin the taste of your oil and vinegar. You need effective tips to keep your bottles smelling fresh. Start by rinsing the bottle with warm water to remove any leftover oil residue. Soak the bottle in warm soapy water for several hours or overnight. This step breaks down stubborn grease and oil and prepares the bottle for deeper cleaning.
Scrub the inside with a bottle brush, paying special attention to the neck and bottom. Rinse thoroughly with warm water to remove all soap. If odor persists, try these additional tips:
- Sprinkle baking soda inside the bottle and let it sit for a few hours. Baking soda neutralizes acidic odors.
- Place a small amount of activated charcoal or coffee grounds inside the bottle. These natural odor absorbers trap lingering smells.
- Expose the bottle to sunlight or fresh air. UV light and ventilation help dissipate stubborn odors.
You restore freshness to your oil and vinegar bottles with these proven tips. Your kitchen stays inviting, and your oil and vinegar always taste their best.
Tip: Clean your bottles regularly to prevent odor buildup and enjoy pure flavors every time.
Drying and Preventing Residue in Your Cooking Oil Glass Dispenser
Air Drying vs. Towel Drying
You want your cooking oil glass dispenser to look spotless every time you use it. Choosing the right drying method makes a big difference. Air drying gives you a hands-off approach. Place your clean dispenser upside down on a drying rack. Let gravity pull out every drop of water. This method prevents lint and streaks from sticking to the glass. You avoid scratches and keep your dispenser looking new.
Towel drying works well when you need your dispenser ready fast. Use a lint-free towel to wipe the inside and outside. Move the towel in gentle circles. Make sure you reach the neck and spout. This method saves time, but you must use a clean towel to avoid leaving fibers behind. For best results, combine both methods. Air dry first, then finish with a quick towel polish.
Pro tip: Always dry the spout and cap separately to prevent trapped moisture.
Avoiding Water Spots and Streaks
You want your dispenser to shine without any marks. Water spots and streaks can ruin the look of your glass. Use these tips to keep your dispenser sparkling:
- Rinse with distilled water for a spot-free finish.
- Dry immediately after rinsing to stop spots from forming.
- Polish with a microfiber cloth for a streak-free shine.
If you see spots, buff them away with a little vinegar on a soft cloth. You keep your dispenser looking its best by following these tips. A clean, clear dispenser adds style to your kitchen and keeps your oil tasting fresh.
Maintenance Tips for Oil Dispensers Between Cleanings
Wiping the Spout and Cap Regularly
You want your oil and vinegar bottles to stay fresh and mess-free. Wiping the spout and cap after each use gives you a clean kitchen and keeps your oil dispenser in top shape. This simple habit prevents drips and sticky residue from building up. You avoid clogs, especially if you use oils with herbs or spices. Regular cleaning stops oxidation, which keeps your oil and vinegar tasting pure and flavorful. You also prevent bacteria from growing by removing food particles and moisture. Always clean before refilling to maintain hygiene and oil quality. If you notice strange odors or sticky spots, clean your oil and vinegar bottles right away. These tips help you enjoy a spotless kitchen and a longer-lasting oil dispenser.
Tip: Use a soft cloth and mild detergent for quick cleaning. Follow the manufacturer’s instructions for best results.
Proper Storage of the Cooking Oil Glass Dispenser
Proper storage protects your oil and vinegar from light and heat. Store your oil dispenser in a cool, dry place away from direct sunlight. This step preserves the flavor and freshness of your oil and vinegar. Always seal the bottle properly after each use. You keep air and moisture out, which prevents spoilage. Storing oil and vinegar in a clean, dry bottle ensures you get the best taste every time. You also avoid contamination and extend the life of your oil dispenser.
- Place your oil and vinegar bottles upright.
- Keep them away from the stove or oven.
- Seal the bottle properly to lock in freshness.
Refilling Without Spills or Drips
You want to refill your oil and vinegar bottles without making a mess. Use a funnel to prevent spills and keep your countertop clean. Pour slowly and stop before the bottle is full. This method gives you better control and avoids overflow. Always clean before refilling to keep your oil and vinegar pure. Wipe the neck and spout after pouring to remove any drips. These tips make refilling easy and mess-free. You enjoy a tidy kitchen and the best quality oil and vinegar every time.
Tip: Choose a funnel with a narrow spout for precise pouring and less waste.
Troubleshooting Common Cooking Oil Glass Dispenser Issues
Dealing with Sticky Residue
You notice sticky residue on your oil and vinegar bottles. This is one of the most common signs your oil dispenser needs cleaning. Sticky residue attracts dust and can affect the taste of your oil and vinegar. To fix this, fill your dispenser with warm water and a few drops of dish soap. Add a spoonful of baking soda for extra cleaning power. Shake the bottle well. Use a bottle brush to scrub the inside. Rinse with clean water. Dry the dispenser completely before refilling. You keep your oil and vinegar tasting fresh and your kitchen looking spotless.
Tip: Clean the outside of your dispenser with a damp cloth after each use to prevent buildup.
Eliminating Persistent Odors
Persistent odors can ruin the flavor of your oil and vinegar. You want your dispenser to smell clean every time you use it. Fill the bottle with a mixture of equal parts vinegar and water. Let it sit for at least 30 minutes. Rinse thoroughly. For tough odors, add a few drops of lemon juice and repeat the process. Air dry the bottle upside down. This method removes unwanted smells and keeps your oil and vinegar bottles fresh.
Fixing a Clogged Spout
A clogged spout makes pouring oil and vinegar difficult. Remove the spout and soak it in warm, soapy water. Use a thin brush or a toothpick to clear any blockage. Rinse well and dry before reattaching. If you use infused oils, clean the spout more often. You ensure a smooth pour every time and avoid messy spills.
Remember: Regular care prevents most dispenser problems and keeps your oil and vinegar at their best.
You keep your cooking oil glass dispenser sparkling and odor-free with regular cleaning. This habit protects the freshness of your oil and creates a cleaner kitchen. Make these simple steps part of your routine. You enjoy better meals and a dispenser that lasts.
Start today for a spotless kitchen and pure flavor!
FAQ
How often should you clean your cooking oil glass dispenser?
You should clean your dispenser every two weeks. Regular cleaning keeps your oil fresh and your kitchen healthy. Make this a habit for the best results.
Can you put your glass oil dispenser in the dishwasher?
Most glass dispensers are dishwasher safe. Always check the manufacturer’s instructions. Hand washing protects delicate parts and extends the life of your dispenser.
What is the best way to remove stubborn oil stains?
Use baking soda and warm water. Scrub with a bottle brush. This method removes stains fast and keeps your dispenser sparkling. Try it today for a spotless finish!