You deserve a cooking space that feels calm and clean. This guide will help you keep your kitchen clean. Master your oil dispenser leak proof and discover the benefits of using a leak-proof oil bottle.
A recent survey found that 67% of people clean while cooking just for peace of mind.
These simple tips in this guide will help you achieve that perfect, clean pour every time with your leak-proof oil bottle.
Choose the Right Leak-Proof Oil Bottle
Your journey to a cleaner kitchen starts with selecting the perfect tool. This section is a practical buyer’s guide to help you find the ideal leak-proof oil bottle. Understanding the benefits of using a leak-proof oil bottle will inspire you to make a choice that elevates your cooking experience.
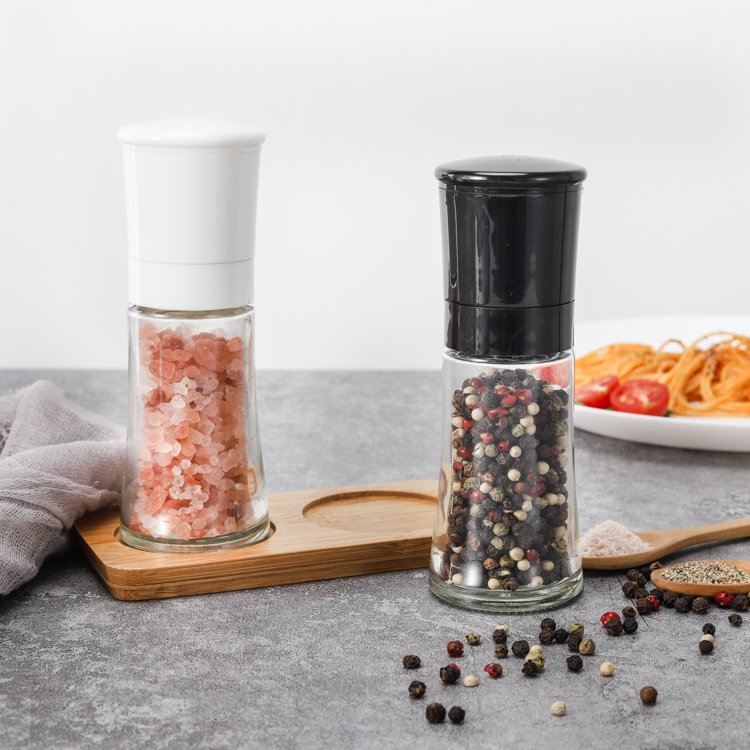
Key Materials: Glass vs. Stainless Steel
The material of your leak-proof oil bottle matters greatly. Many chefs, nearly 70% in fact, prefer glass because it is inert and won’t alter your oil’s flavor. Both glass and stainless steel offer unique advantages for your leak-proof oil bottle.
Quick Comparison: Glass vs. Stainless Steel
Feature Glass Dispensers Stainless Steel Dispensers Visibility ✅ You can see the oil level. ❌ Oil level is not visible. Light Protection Tinted glass offers some protection. Excellent light protection preserves oil. Durability Can break if dropped. Highly durable and shatter-proof. Aesthetics Classic and elegant look. Modern and sleek appearance.
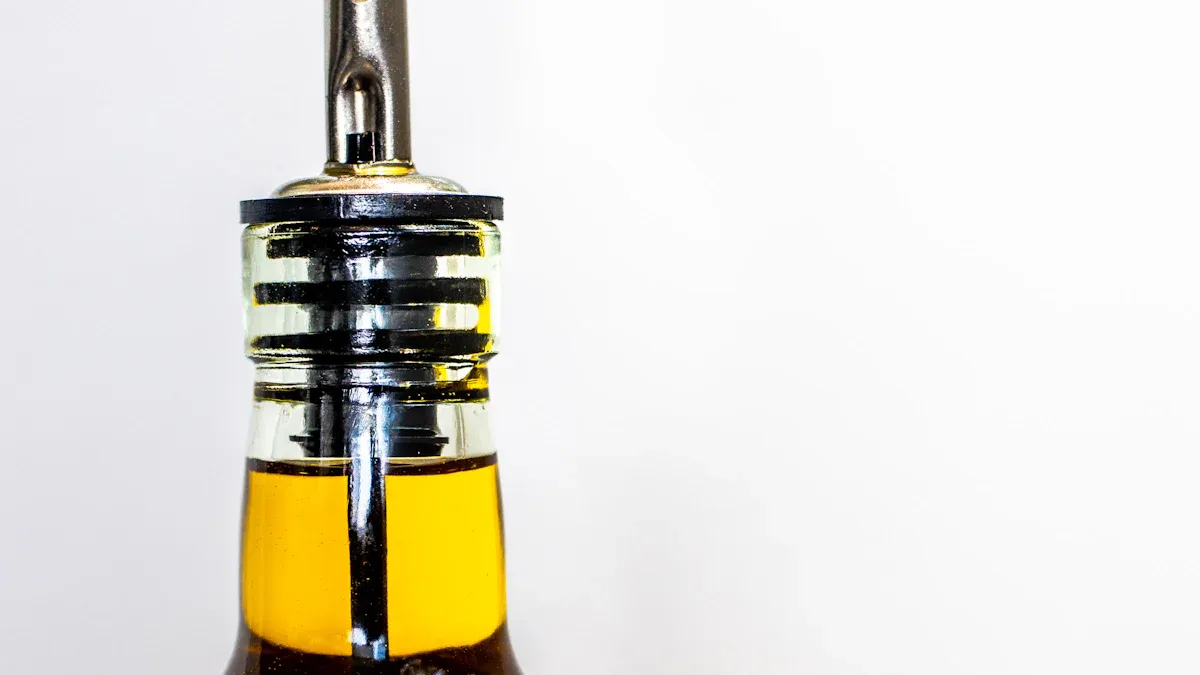
The Importance of a Quality Seal
A secure cap is the heart of a truly leak-proof oil bottle. Look for designs with a reliable seal, like a flip-top cap. This type of cap provides easy one-handed pouring and prevents contamination, keeping your oil fresh and ready for your next culinary creation. This is a key step in choosing the best nozzle pourer for your leak-proof oil bottle.
Look for a Drip-Free Design
The final piece of this practical buyer’s guide is the spout. A smart drip-free design makes all the difference. Innovative oil bottle nozzle pourers often feature weighted spouts that close automatically or tapered spouts for precise control. This guide simplifies choosing the best nozzle pourer for your leak-proof oil bottle. A quality leak-proof oil bottle with the right oil bottle nozzle pourers will transform your cooking. You will love your new leak-proof oil bottle, and the benefits of using a leak-proof oil bottle with a drip-free design will be clear from the first pour.
Assemble and Fill Your Oil Dispenser Leak Proof
You are now ready to prepare your new kitchen tool for action. This simple guide will show you how to set up your leak-proof oil bottle for a flawless performance. Proper assembly is the secret to unlocking the full potential of your leak-proof oil bottle.
The Essential Pre-Fill Rinse
Your journey begins with a clean start. Before its first use, give your new leak-proof oil bottle a quick rinse with warm, soapy water. This removes any dust from packaging or shipping. A clean leak-proof oil bottle ensures your oil tastes pure and fresh from the very first pour. You are now one step closer to mastering your leak-proof oil bottle.
How to Assemble for a Secure Seal
Creating a tight seal is crucial for a mess-free experience. This step-by-step guide makes it easy.
Pro Tip: When attaching the spout, turn it until it feels snug. Avoid over-tightening. A firm, tight seal is all you need to activate the oil dispenser leak proof design and keep your countertops clean. This secure seal is fundamental to how to use a leak-proof oil bottle effectively.
Filling Your Dispenser Without Spills
Now you can fill your leak-proof oil bottle with confidence. The best way to prevent spills is by using a simple kitchen funnel. A funnel with a wide mouth allows for fast, clean pouring directly into your leak-proof oil bottle. Many high-quality funnel kits are available to make this process effortless. As you can see, these tools are highly rated by users for a reason.

This simple guide helps you prepare your leak-proof oil bottle perfectly. You have successfully set up your leak-proof oil bottle for success.
Master the Pour to Prevent Drips
You have chosen and prepared your leak-proof oil bottle. Now, you will unlock its true power. The final step in your journey to a spotless kitchen is mastering the art of the pour. This is where technique transforms your tool into an extension of your hand, eliminating messy drips for good. Your beautiful leak-proof oil bottle is ready to perform flawlessly.
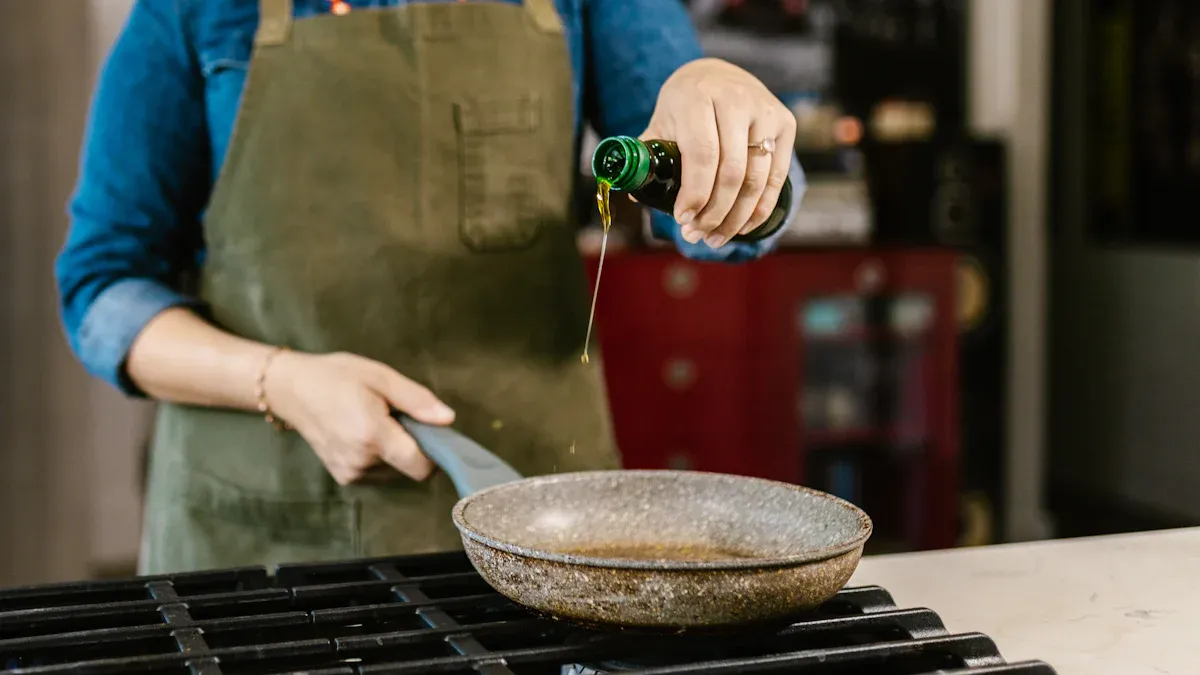
The “Slow Tilt and Upright Stop” Method
This simple technique is a game-changer for anyone learning how to use a leak-proof oil bottle. It is the secret to a perfect pour that ends cleanly every single time. This step-by-step guide will show you how.
Pro Tip: The Pour and Twist
- Tilt your leak-proof oil bottle slowly to start the flow of oil.
- When you have the amount you need, begin to bring the bottle upright.
- As you lift it, give your wrist a slight, confident twist.
This simple motion is backed by science. The twist uses gravity to pull any final droplets back around the rim and into the leak-proof oil bottle instead of letting them run down the side. This action spreads the oil so thinly that surface tension takes over, holding the liquid in place and stopping drips before they can form. This is the most effective way to prevent drips and keep your leak-proof oil bottle clean. You will be amazed at how such a small movement stops drips completely.
Avoid Shaking or Sudden Movements
Think of your leak-proof oil bottle like a dance partner; it responds best to smooth, confident movements. Shaking the bottle or making sudden, jerky motions disrupts the steady flow of oil. This can cause unexpected splatters and drips, defeating the purpose of your leak-proof oil bottle. You have complete control over the pour.
Follow these simple steps for a graceful pour:
- Grip your leak-proof oil bottle firmly but gently.
- Move with a single, deliberate motion from the starting position to your pan or bowl.
- Pour smoothly and return the bottle to its upright position with the same steady control.
This calm approach ensures the oil goes exactly where you want it, preventing frustrating drips and keeping your cooking area pristine.
Control Your Pouring Speed
The final secret to eliminating drips is managing your pouring speed. Your leak-proof oil bottle gives you amazing control, but your technique makes it perfect. Pouring too quickly can overwhelm the spout’s design, causing splashes. Pouring too slowly can cause oil to cling to the spout, forming drips. The goal is a steady, confident stream. These tips will help you find the perfect rhythm.
This short guide will help you master your speed:
- Start with a gentle tilt to find the ideal pouring angle for your leak-proof oil bottle.
- Aim for a consistent, medium-speed flow to control the amount of oil perfectly.
- Practice a few times to learn how your specific leak-proof oil bottle responds.
You have the power to control the amount of oil you use with precision. With a little practice, you will pour like a professional chef, keeping your kitchen free of drips every time.
Cleaning and Maintenance of Leak Proof Oil Bottles
You have mastered the perfect pour. Now, you can preserve that flawless performance with simple care. The cleaning and maintenance of leak proof oil bottles is your secret to a lifetime of drip-free use. This guide will show you how to keep your beautiful leak-proof oil bottle in pristine condition, ensuring it remains a joyful and reliable part of your kitchen. You will discover the incredible ease of cleaning that makes this tool a true pleasure to own.
Your Daily Rinsing Routine
A little care each day makes a huge difference. You can prevent oily residue from ever building up. This simple habit keeps your leak-proof oil bottle looking and feeling clean.
- Wipe the Spout After Use: Give the spout a quick wipe with a paper towel after you pour. This small action stops drips from attracting dust and keeps your countertop clean.
- Perform a Weekly Rinse: If you use your leak-proof oil bottle daily, a quick rinse once a week is a great idea. This simple step prevents any residue from hardening inside the spout.
This routine is the first of our expert tips for maintaining your dispenser. It ensures your leak-proof oil bottle is always ready for action.
The Weekly Deep Clean with Soap and Water
You can achieve a truly deep clean for your leak-proof oil bottle with minimal effort. Regular cleaning every two weeks keeps your oil fresh and your kitchen hygienic. This step-by-step guide makes cleaning your oil bottle a simple and satisfying task.
Pro Tip: Choose a Grease-Fighting Soap For the best results, you should use a dish soap known for cutting through tough grease. Brands like Dawn Platinum, Palmolive Ultra Strength, or Gain are excellent choices. They are designed to break up oily residue on surfaces like glass and silicone, which makes cleaning your oil bottle much easier.
Follow these steps for a sparkling clean leak-proof oil bottle:
- Pour a few drops of your grease-fighting dish soap into the empty leak-proof oil bottle.
- Add warm water. Let the soapy water sit for a few minutes to dissolve any stubborn residue.
- Secure the cap and shake gently to clean the interior walls. Use a bottle brush for any tough spots.
- Rinse the bottle thoroughly with warm water until all soap is gone.
- Let your leak-proof oil bottle dry completely before you refill it. This prevents water from contaminating your fresh oil.
This process highlights the fantastic ease of cleaning your dispenser. Your leak-proof oil bottle is designed to be easy to clean.
Using Vinegar for Stubborn Buildup
Sometimes, you might notice a cloudy film or stubborn residue inside your glass leak-proof oil bottle. You have a powerful, natural solution right in your pantry: vinegar. This is one of the best expert tips for maintaining the brilliant shine of your dispenser. The cleaning and maintenance of leak proof oil bottles becomes effortless with this trick.
How to Use Vinegar for a Sparkling Finish After washing with soap, pour a small amount of white vinegar into your leak-proof oil bottle. Add some warm water and swirl it around. The vinegar will work to dissolve mineral deposits and any lingering oily residue, restoring the glass to its original crystal-clear shine. Rinse it out, and your dispenser will look brand new. This final step in our guide ensures a perfectly clean bottle every time.
Quick Troubleshooting for Common Leaks
Even the best tools sometimes need a little adjustment. You can easily fix any issue with your leak-proof oil bottle. This guide empowers you to solve common problems and maintain a perfect, drip-free experience. You will see how simple it is to correct common mistakes and keep your leak-proof oil bottle working flawlessly.
What to Do if the Spout Keeps Dripping
You can stop annoying drips with a simple check. Persistent drips often signal one of two common mistakes. First, review your pouring technique. A quick, confident twist as you bring the leak-proof oil bottle upright stops drips before they start. Second, check the spout. A small bit of residue can cause drips. Wiping the spout after each use prevents these drips. You can easily avoid drips and keep your leak-proof oil bottle clean. Your control over drips will make you feel like a kitchen pro.
Fixing a Leak from the Cap or Seal
You can achieve a perfect, leak-free fit. A leak from the cap usually means the seal is not secure. This is one of the most frequent mistakes, but it has an easy fix.
Quick Fix Checklist 📝
- Inspect the Seal: Remove the cap and check the silicone or rubber seal for any damage or debris.
- Clean the Threads: Wipe the threads on both the bottle and the cap to ensure a clean connection.
- Re-tighten Securely: Screw the cap back on until it is snug. Avoid over-tightening.
You should check seals regularly to prevent leaks. A secure seal is essential for your leak-proof oil bottle to prevent drips. This simple check ensures your leak-proof oil bottle remains a reliable tool, preventing messy drips.
How to Unclog a Slow or Blocked Spout
You can restore a perfect flow to your leak-proof oil bottle. A clog can happen, but you can prevent it. Proper care of your oil bottle nozzle pourers is key.
- Ensure a Secure Fit: Always make sure your oil bottle nozzle pourers are twisted on tightly. This prevents air from getting in, which can cause oil to thicken and clog the spout.
- Maintain Cleanliness: Wipe the spout after you pour. This simple habit stops oil from drying and causing drips. A weekly rinse with warm, soapy water keeps your leak-proof oil bottle clear.
- Proper Oil Storage: Keep your leak-proof oil bottle in a cool, dark place. Heat and light can make oil go bad, leading to buildup and drips.
Following these steps will keep your leak-proof oil bottle pouring smoothly, free from clogs and drips.
You now hold the secret to a spotless kitchen. These simple tips help you master your oil dispenser leak proof. A quality leak-proof oil bottle keeps your counters clean. Enjoy a perfect pour every time with a leak-proof oil bottle that works for you. These tips ensure your oil dispenser leak proof design performs flawlessly.
Top-Rated Dispensers for a Drip-Free Start: 🏆
- OXO Good Grips Squeeze Bottle
- Bellemain Stainless Steel Dispenser
- Rachael Ray Stoneware Bottle
FAQ
What is the best oil for my dispenser?
You can use any common cooking oil. Your dispenser works wonderfully with olive, canola, or vegetable oil. Enjoy the freedom to choose your favorite for every meal. 🧑🍳
How often should I clean my oil dispenser?
You should perform a deep clean every two weeks. This simple habit keeps your oil fresh and your dispenser pouring perfectly. You will love its lasting performance.
Are leak-proof oil dispensers dishwasher safe?
Many dispensers are dishwasher safe. You should always check the manufacturer’s instructions first. This simple step ensures your beautiful dispenser stays in top condition for years to come.